

As you can see above further digging around the garden planting various shrubs and bulbs has created a large pile of clay. This has been placed such that it can be moulded into an embankment at the far end and will include a loop around so that continuous running is possible. The point will be sprung – I must read up on how to do this!
and work has not stopped on Rough Pup either. Below you can see the major parts prior to reassembly.

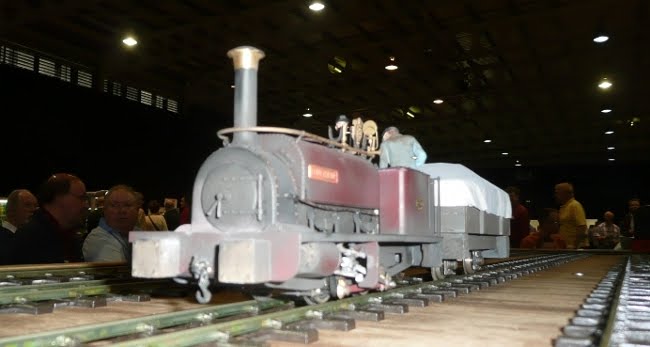
Work has included:
- Weathering the driver and fireman.
- Weathering the brass handrail.
- Working out where the copper pipe runs go.
- Weathering the firebox to match the rest of the engine and dirtying up the brass safety valves (but not the whistle) as shown in many photos of the engines at work.
- Painting the nameplates red and then distressing them.
- Painting the hornguides and then weathering them.
- Freeing the slidebars from the inevitable sticking after weathering.
- Drilling two small holes in the rear buffer beam to allow the motor leads to nicely travel across to the running wagon.
- Weathering the running wagon to match.
- Soldering together the radio control circuitry (except the motor which will need to be installed in the engine first. This is shown below.

- Building a false floor for the coal bunker and glueing coal on top of it.
- Preparing for reassembly of the loco.
So, the next step is reassembly followed by some dry brushing to add rust and weathering powders for texture. Note the expanded polystyrene blob below which will be used for adding random textures of powder.


No comments:
Post a Comment