Check out my new 0-14 blog here:
http://ohfourteen.blogspot.com/
Monday, 6 December 2010


Tuesday, 30 November 2010
duckets done
And here are the duckets added after fun and games getting them to bend and adhere once bent. A little bit of filler was required to hide a couple of areas where the plywood ended up cracking whilst I was trying to bend it! I've also ordered some sanding sealer (White) required to finish the roof. Now to source the correct grab handles...

Monday, 29 November 2010
curly!
Well much progress tonight. The overlays went on easily with superglue, the doors requiring an extra lamination. Then the central roof bars were added and the roof forming strips laid on with masking tape strips to form the curly roof. The bogies and chopper couplings (accucraft) were then added, the latter retained with 10ba nuts/bolts.
Finally, having checked photos of the real thing, I binned the truss rods in the kit (far too chunky and square section) and made some better circular section ones from wire myself.
Now I need to add kleenex tissues to the roof (yes really) and attach the duckets. This requires soaking thin plywood in hot water to shape it - ummm sounds fiddly! My practice attempt was ok but the top of the ducket has a very tight bend to form Might be easier in brass, but then I would still have to add the plywood overlay to that. Thinking cap on...!

Finally, having checked photos of the real thing, I binned the truss rods in the kit (far too chunky and square section) and made some better circular section ones from wire myself.
Now I need to add kleenex tissues to the roof (yes really) and attach the duckets. This requires soaking thin plywood in hot water to shape it - ummm sounds fiddly! My practice attempt was ok but the top of the ducket has a very tight bend to form Might be easier in brass, but then I would still have to add the plywood overlay to that. Thinking cap on...!
Sunday, 28 November 2010
brakes off...
As mentioned on my other (009) blog, I have decided to spend more of my time on garden railway things for a while. Thus there have been further earthworks in the garden, plans created for a method of tracklaying and work restarting on the de winton. Alongside this I have started work on my ip engineering kit for the fr's brake van no.1 aka the "curly roofed van".
Here is the current state of construction - sides, ends and floor all glued together and roof supports glued in (the elastic bands are to hold it all square whilst it dries). Next come the beautiful overlays all made from laser cut plywood. Very impressive.
The bogies are already complete too.

Here is the current state of construction - sides, ends and floor all glued together and roof supports glued in (the elastic bands are to hold it all square whilst it dries). Next come the beautiful overlays all made from laser cut plywood. Very impressive.
The bogies are already complete too.
Monday, 26 April 2010
Earthworks update
As you can see below, much earth has been imported to the back garden from a project in the front garden. Today I laid out a circle of track to work out how wide this earthwork would need to be to accommodate the loop back on itself. The answer is about 1.8m.


Sunday, 25 April 2010
Bogies for the Gladstone

I wanted to add the bogies (and couplings in time) to the Gladstone so it can be ready for gauging and power trials once the garden earthworks are completed. Thus with a bit of drilling, countersinking and screwing tonight we have one carriage with wheels!
Monday, 12 April 2010
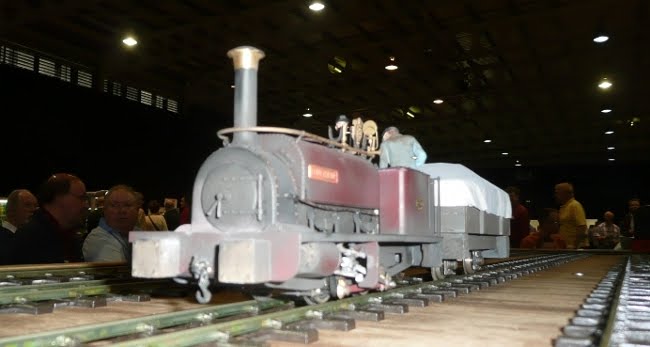
16mm show - the debut of Rough Pup
Check out this video of my engine passing some of the other 100 Hunslets!
http://www.youtube.com/watch?v=QNivf5k10_M
A great time was had by all (show report coming soon) and Rough Pup performed well.
http://www.youtube.com/watch?v=QNivf5k10_M
A great time was had by all (show report coming soon) and Rough Pup performed well.
Subscribe to:
Posts (Atom)